Blog
Pointing Trowel Guide: 1 in and 2 in Blades and How to Use Them

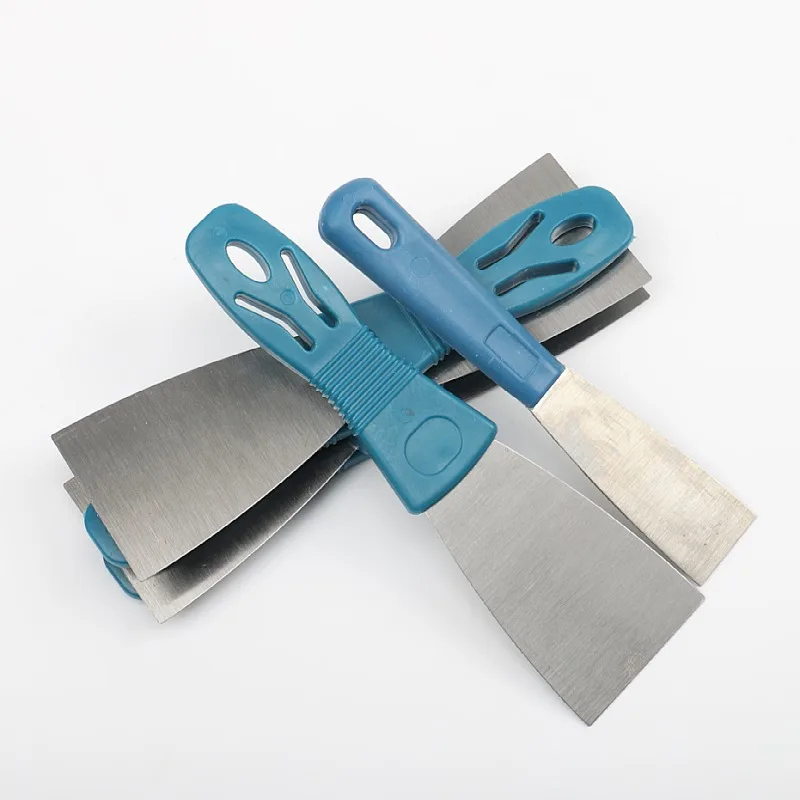
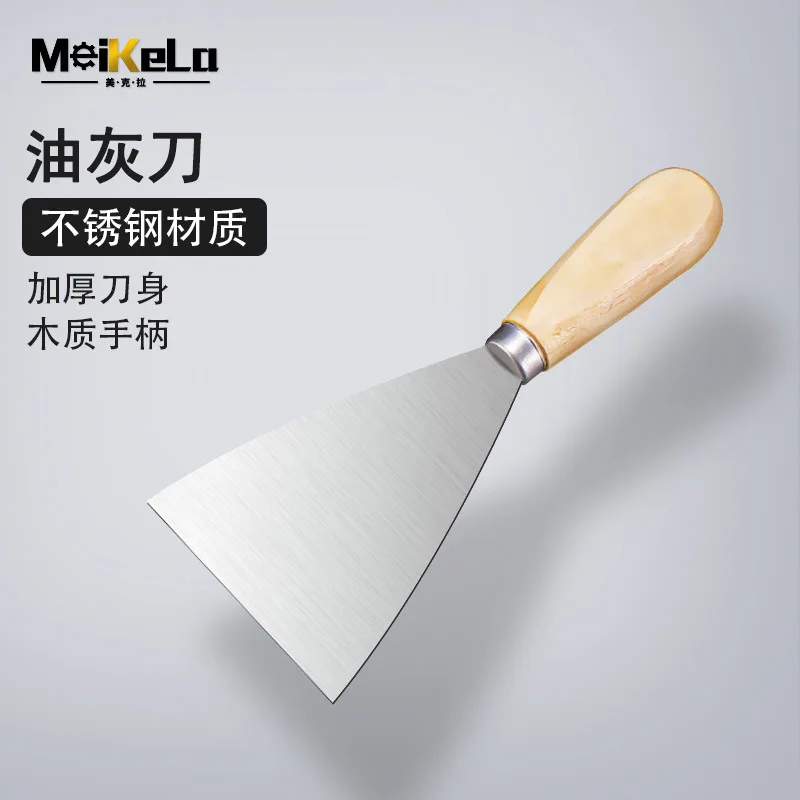
A narrow trowel is the tool for putting mortar or filler into a place you cannot reach with a float. Pointing a brick joint, filling a crack in render or pressing adhesive into a gap all need a blade small enough to control and stiff enough to press material into the opening rather than across it. This range covers two widths, one inch and two inches, and this guide explains what each is for, how the two differ in practice, and the technique that leaves a joint full and neat rather than smeared.
What a narrow trowel is for
- Pointing joints. Pressing mortar into the gap between bricks or blocks and shaping it to a finished profile.
- Crack repair. Working filler or mortar into a narrow opening where a wide blade would bridge the gap and leave it hollow.
- Applying adhesive to a small area. Grouting a tile edge, bedding a trim or fixing a fitting where a full float is too large.
- Patching render. Building up a small area of damaged render and blending it into the surrounding surface.
- Working into a corner. Anywhere the tool has to reach an internal corner or the base of a wall, a narrow blade gets there and a broad one does not.
- Lifting and placing. The blade also works as a small tool for picking mortar off a board and putting it precisely where it is needed.
One inch against two inches
| Property | One inch blade | Two inch blade |
|---|---|---|
| Reach into a gap | Fits the narrowest joints and cracks | Needs a wider opening to enter |
| Material carried per pass | Small; more passes for the same joint | About double per pass |
| Control | Easiest to keep inside the joint | Needs more care not to smear the face |
| Speed on a wall | Slow; best for detail and repair | Roughly twice as fast on the same run |
| Best suited to | Fine joints, cracks and small repairs | General pointing and patching |
In practice the two widths are a pair rather than a choice. The wider blade points the bulk of a wall, and the narrower one finishes the joints the wider blade cannot enter without dragging mortar across the brick face.
The trowels in this guide
Every option in this range
Two widths. Prices are per unit.
| Blade width | Supplied as | Best for | Price |
|---|---|---|---|
| 1 in | Single trowel | Fine joints, cracks and detailed pointing | $8.99 |
| 2 in | Single trowel | General pointing and patch repairs | $11.99 |
The difference is about three dollars for twice the blade width. Where a wall has to be pointed rather than repaired, the wider blade is the one that saves the time; where the work is small repairs, cracks and tight joints, the narrow blade is the one that does the job without smearing the surrounding face.
Pointing technique
- Rake the joint out first. Loose mortar has to come out before new mortar goes in, to a depth of about twice the joint width. A thin layer of pointing over loose material falls out within a season.
- Wet the joint down. A dry joint pulls the water out of new mortar and the mix then fails to cure properly. Dampen the opening with a brush and clean water.
- Load the blade on the back edge. Mortar carried on the back of the blade is pressed into the joint; mortar on the leading edge is pushed across the face.
- Press, do not smear. Push the mortar into the joint in one firm movement, working from the bottom of the joint upward. A smeared joint is a hollow joint.
- Finish as the mortar firms up. Shape the joint with the edge of the blade or a jointing tool once the mortar has begun to set, not while it is still soft.
- Clean the face before the mortar sets. A dry brush once the mortar has firmed is easy; a set smear has to be chipped off and takes the brick face with it.
Care of the blade
- Wash mortar off before it sets. Mortar holds moisture against steel and starts rust while it cures.
- Dry the blade fully. A trowel put away damp comes out of the toolbox with a rust bloom along the edge.
- Do not lever with the tip. The blade is thinned toward the point, and lifting with it bends the blade out of flat.
- Keep the tang clean. Mortar trapped where the blade meets the handle corrodes the joint that holds the tool together.
- Oil lightly for storage. A thin film on the blade only; oil on the handle makes a working trowel dangerous to grip.
One more point about mortar. Mix only what you can point in about twenty minutes, because mortar that has begun to stiffen cannot be pressed into a joint and will sit on the face instead. Working in short, freshly mixed batches is faster overall than reviving a bucket of mortar that has started to go off.
Frequently Asked Questions
What is the difference between a pointing trowel and a float?
A float spreads material over a surface with a broad, flat face. A pointing trowel is narrow and stiff, made to press material into a joint or a crack rather than lay it flat.
Which width should I buy first?
Two inches. It points a wall at a workable speed and still fits most joints. Add the one inch blade when the work includes cracks and fine joints.
Why does my pointing fall out?
Almost always because the joint was not raked out to enough depth, or because it was pointed over dry or dusty masonry. Depth and dampening are what make pointing stay.
Can I use these for tile adhesive?
Yes, for small areas, bedding a trim or pressing adhesive into a gap. For laying a whole floor or wall, a notched trowel spreads the adhesive evenly and far faster.
Do I need a jointing tool as well?
It helps. A trowel edge will fill the joint, but a shaped jointing tool gives an even profile along the whole run and is quicker once the mortar has firmed.
Buying the right one
Buy the two inch blade for pointing and the one inch blade for cracks and fine joints; the pair costs less than a bag of mortar. The trowels in this range cover both widths.