Blog
Countersinks, Centre Drills and Deburring: Finishing a Drilled Hole


Drilling the hole is only half the job. A drilled hole arrives with a burr on the far side, a sharp edge that will cut a hand or a cable, and usually a screw head that has to sit flush in it. The tools that finish the hole are centre drills, countersinks and deburring cutters, and they are cheap, quick and almost always left out of the kit. This guide covers those cutters and the order in which they are used.
The three finishing jobs
- Starting the hole. A centre drill is short and rigid, so it puts a pilot exactly where the punch mark is and stops the twist drill wandering on a curved or angled surface.
- Chamfering the mouth. A countersink cuts a cone so a countersunk screw sits flush. The cone angle has to match the screw, or the head bears on one edge instead of seating.
- Removing the burr. A deburring cutter breaks the sharp edge on the far side of the hole, which is what stops a coating failing at the edge and a hand being cut.
The cutters and what each one fixes
| Cutter | Job | Note |
|---|---|---|
| Centre drill | Starting a hole exactly on the mark | Short and rigid, does not wander |
| Countersink | Chamfer for a countersunk screw head | Match the angle to the screw |
| Deburring cutter | Breaking the far edge of a drilled hole | Removes the sharp lip that cuts hands |
| Chamfer tool | Easing a bore or an edge | Useful before tapping and after boring |
Centring and countersinking
An HSS centre drill and countersink set from 3 to 20 mm in 90 and 60 degree forms, TiN coated covers the two operations that come before and after drilling. The centre drill goes in first, on a punch mark, and gives the twist drill a true start; the countersink follows, cutting the cone that lets a countersunk screw sit flush. The two common angles are 90 degrees for metric screws and 82 degrees for imperial ones, which is why a set carrying both 90 and 60 degree cutters is worth having on the shelf. The TiN coating reduces friction and heat, and heat at the cutting edge is what dulls a countersink run at too high a speed.
Deburring on the far side
A deburring and chamfer tool with a hex or triangular shank handles the edge a countersink cannot reach. The blade inside the cutter is fed through the hole, pulled back against the far lip and rotated, breaking the burr in a few turns. This matters anywhere a hand, a cable or a coating will meet the edge: a burr under a powder coat becomes a blister, and a burr inside a tube is a cut waiting to happen. Run the cutter slowly, because the blade is thin and speed only makes heat.
Finishing in the right order
The sequence is short and it pays for itself. Punch the position. Centre drill. Drill the hole with the right bit for the material. Deburr the far side. Countersink if the fixing needs a flush head. Chamfer the bore if a thread goes in next, because a chamfer guides the tap and stops the first thread lifting. Then clear the chips out of the hole and check that the screw head sits down properly rather than standing proud on one side. Skipping the deburr is the mistake that shows up later, when a finish fails at an edge or a cable chafes through on a sharp lip nobody looked at.
Why a countersunk screw stands proud
- Wrong angle. A 90 degree countersink with an 82 degree head, or the reverse, leaves the head bearing on the edge of the cone.
- Too shallow. The cone is not deep enough for the head thickness, so the head bottoms out before it seats.
- Chatter in the cone. A countersink run too fast leaves a faceted cone and a head that rocks on the high spots.
- Burr left in the cone. The drilling burr was never removed, so the head sits on it.
- Soft material. In aluminium or plastic a countersink cuts fast, and a heavy hand cuts a cone much deeper than the head needs.
Finishing holes in brittle and hard material
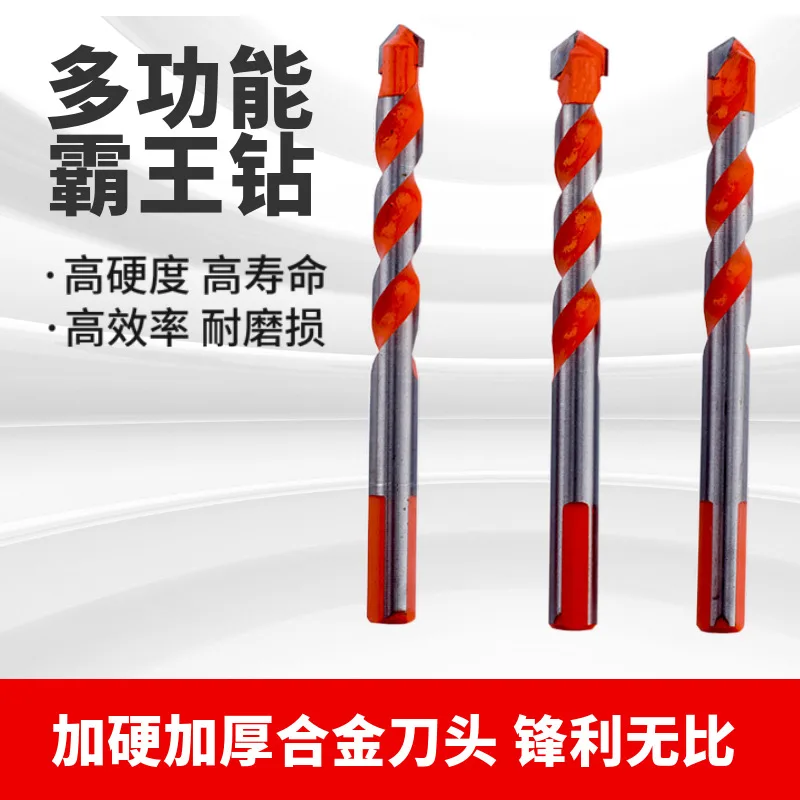
A multi-material drill bit set from 6 to 12 mm for tile, marble, glass and concrete changes the pressure but not the sequence. The hole still gets started carefully, and the edge still gets broken afterwards, except that brittle material flakes instead of deforming, so the countersink has to be run slowly or the cone will chip the glaze around the mouth. The same applies to hard metals: the chamfer only needs to break the edge, and taking it deeper than the head requires just removes material that was supporting the screw.
Deep holes need the most attention
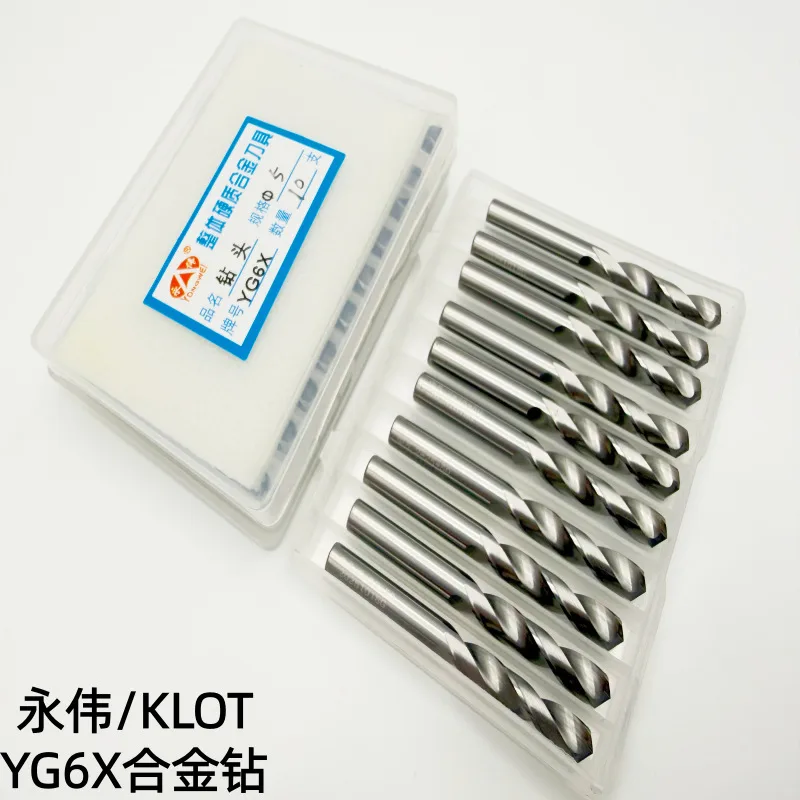
An extra-long solid carbide drill bit and a solid carbide twist drill for 38 to 50 mm work reach places a standard length cannot, and the deeper the hole the more the far-side burr matters, because a long hole is exactly where a burr is hardest to reach and easiest to leave behind. Deburr every deep hole as the last operation, before the part goes back on the machine, and blow the chips out before you do it so the cutter is not working against the swarf you left in there.
Frequently asked questions
What angle countersink do I need?
Match the screw. Metric countersunk screws are normally 90 degrees and imperial ones 82 degrees, so a set with both angles covers the fixings most workshops use.
Do I really need a centre drill?
On a flat, marked surface a good split point bit will often start accurately. A centre drill earns its place on curved, angled or polished surfaces, where a twist drill will otherwise walk.
How do I remove a burr I cannot reach?
Use a deburring cutter with a thin blade that passes through the hole and cuts on the way back. It reaches the far lip on a bore that no file or countersink can touch.
Why does my countersink chatter?
Usually speed. Slow the spindle down, keep the cutter square to the hole and apply steady pressure so the flutes cut instead of skipping.
Should I chamfer before tapping?
Yes. A chamfer guides the tap into the hole and prevents the first thread from lifting, which is the most common cause of a torn start.
Where to start
Browse the full Drill Bits range, or the wider Cutting & Measuring Tools category if you also need saw blades, squares or gauges. Tell us the material, the screw head and the hole size, and we will point you at the centre drill, countersink and deburring cutter that finish the job.