Blog
Desktop 3D Printers: Build Volume, Materials and Levelling


A desktop 3D printer is judged on three things: how much build volume you get, how wide a range of materials it can actually handle, and how much of your time it consumes while it works. The first two are on the specification sheet. The third is what separates a machine that earns its cost from one that sits under a bench, and it is almost entirely about bed levelling, adhesion and the speed-versus-quality compromise.
Build volume: the specification that limits you first
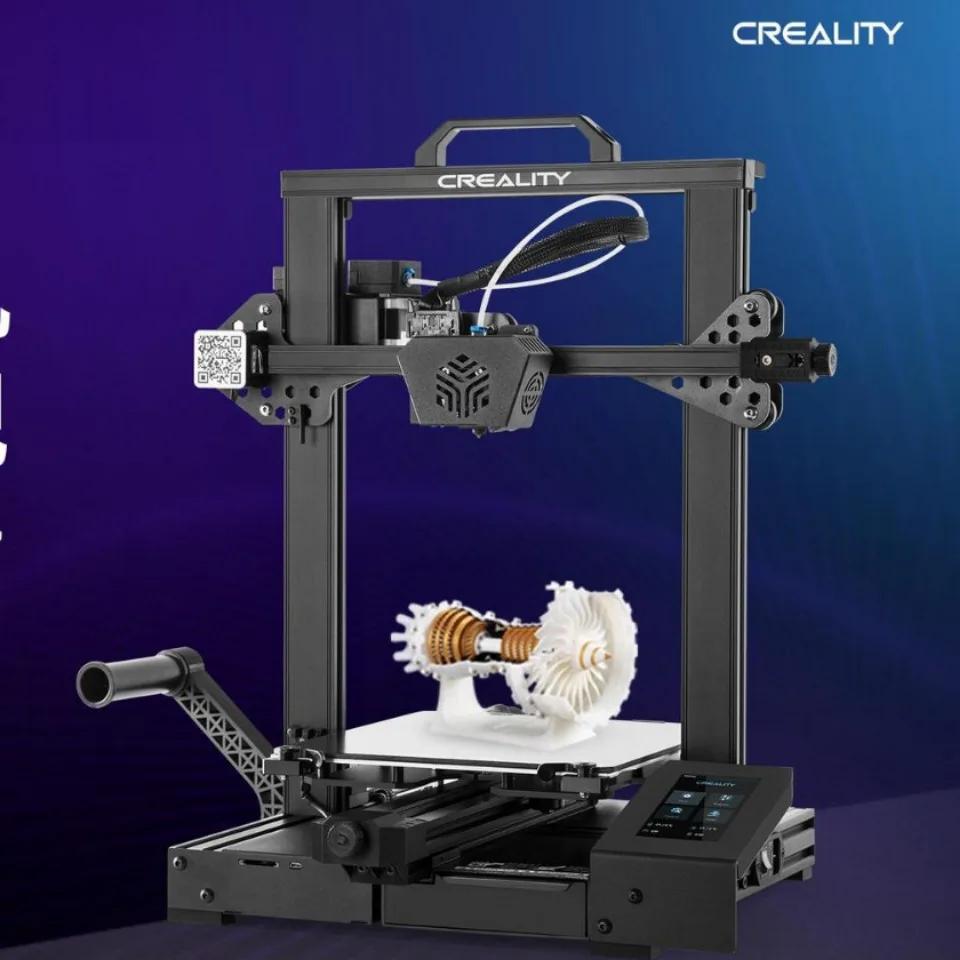
Print volume decides what you can make in one piece, and it is easy to buy too much or too little. A 235 x 235 x 250 mm envelope covers the great majority of functional parts – brackets, enclosures, jigs, prototypes – while a 260 x 260 x 300 mm machine such as the high-speed multi-colour printer with auto levelling gives noticeably more room for assemblies and for parts printed in the orientation that makes them strongest. The practical sizing question is not “what is the biggest thing I might print” but “what size does 80 percent of my work fall under”, because a machine sized for the exception is a machine that is idle most of the time.
| Printer | Build volume | Materials | Suits |
|---|---|---|---|
| CR-6 class desktop 3D printer | 235 x 235 x 250 mm | PLA, ABS, PETG, TPU | General prototyping, functional parts, workshop jigs |
| High-speed multi-colour 3D printer | 260 x 260 x 300 mm | PLA and typical desktop filaments | Multi-colour prints, larger parts, faster throughput |
Why material range matters more than it looks
PLA is the easiest filament to print and the weakest in service: it softens in a hot car and creeps under sustained load. PETG sits in the middle, tough and reasonably heat-resistant, and is what most functional workshop parts end up being made from. ABS and its relatives are stronger and more heat-resistant but warp, need an enclosure or at least still air, and smell while printing. The CR-6 class machine covers all four, which means you can choose the filament to suit the part rather than designing around what the printer will tolerate.
Auto levelling, adhesion and the first layer
The first layer decides whether a print succeeds. Bed levelling sets the gap between nozzle and surface; too close and the extrusion is squashed and the nozzle gouges the sheet, too far and the filament will not stick. Auto levelling on machines such as the multi-colour printer removes most of the tedium and most of the variables, and it is the feature that most repays its cost for anyone printing regularly. On any machine, a clean surface matters as much as the mechanism: oils from fingers are the most common cause of a print that lifts at one corner.
Speed, quality and the trade you are always making
Printers advertise speed as a headline number, but faster printing means faster cooling, more ringing at corners and weaker layer bonding unless the machine compensates with better motion control and part cooling. The honest approach is to print structural parts slower than display parts, to accept that a 0.6 mm nozzle halves print time at the cost of fine detail, and to change layer height rather than chasing the maximum speed setting. A machine with a smaller build volume that prints reliably every time is more productive than a larger one that needs re-slicing and rescuing.
Running costs and maintenance
- Nozzles wear. Abrasive filaments destroy brass nozzles; keep spares and treat them as consumables.
- Belts and wheels. Loose belts show up as ghosting on vertical faces, and worn wheels as play in the carriage.
- Filament storage. Most filaments absorb moisture, which causes popping, stringing and weak parts. Sealed boxes with desiccant are cheap insurance.
- Print surface. Sheets are consumable; when adhesion becomes unpredictable, replace rather than compensate with glue.
- Ventilation. ABS and similar filaments should not be printed in a living space.
From file to part: what the workflow demands
A 3D printer turns a mesh into an object in layers, and everything that goes wrong happens in the gap between the model and the slice. Walls thinner than the extrusion width are ignored rather than printed. Overhangs beyond roughly 45 degrees need support, and support leaves marks that have to be cleaned up. Holes smaller than a few millimetres print undersized because the plastic contracts around them, which is why designers who print regularly specify holes a fraction larger and ream them afterwards. Thinking in those terms before modelling saves more time than any printer upgrade: parts designed for the process print first time, and parts designed as if they were machined need rescuing repeatedly.
Post-processing and what finishes cost
Support removal is the routine task, and it is far easier in PETG than in ABS and far easier again on parts oriented so that supports land on hidden faces. Layer lines can be sanded, filled or vapour-smoothed depending on the filament, but each of those adds time and equipment. For functional parts, the sensible target is a clean first layer, a consistent wall and no visible gaps – the plastic is doing its job even if it is not pretty. Where appearance matters, print in a colour that hides layer lines and orient the part so the visible face is a vertical wall printed at a slower speed.
Frequently asked questions
Is 235 x 235 mm big enough?
For most functional parts, brackets and enclosures, yes. Size up to a 260 x 260 mm class machine when you regularly print assemblies or want to print parts in a stronger orientation.
Do I need an enclosure?
For PLA and PETG, no. For ABS and other high-shrinkage filaments, an enclosure or at least a draught-free space is what makes the difference between a part and a warp.
How accurate are desktop printers?
Dimensional accuracy is typically within a few tenths of a millimetre on well-tuned machines, which is fine for jigs and enclosures. Threads and bearing fits usually need reaming or tapping after printing.
What does auto levelling actually do?
It probes the bed at several points and compensates for height variation while printing the first layer, which removes the guesswork from the setting that most affects adhesion.
How long do prints take?
Hours rather than minutes for anything substantial, and the figure scales with volume rather than with footprint. Layer height and nozzle diameter are the two settings that change it most.
Where to start
See the 3D Printers range, or the wider Welding & Cutting category for related equipment. Tell us what you intend to print and in which material, and we will match build volume and machine to it.