Blog
The Abrasive Sequence: From Coarse Cutting to a Polished Finish


Every finish that fails was usually failed at the start. A coating that peels, a polish that will not come up and a stain that looks patchy are all symptoms of a surface that was prepared in the wrong order or with the wrong step missing. This guide sets out the abrasive sequence from coarse cutting to a polished finish, and explains why each stage exists rather than treating grit numbers as a matter of opinion.
The sequence in principle
- Clean first. Oil, grease and dust stop any abrasive from working and drive contamination into the scratch pattern.
- Cut. A coarse abrasive removes the damage, the rust or the old coating. This is the stage that takes time.
- Refine. Progressively finer grits remove the scratches left by the previous stage, one grade at a time.
- Polish. A compound or a fine wheel removes the last of the marks and brings up the finish.
- Protect. A coating, wax or oil keeps the surface where you left it.
What each stage uses
| Stage | Typical abrasive | What it removes |
|---|---|---|
| Cutting | P40 to P80 sheet, coarse emery cloth | Rust, scale, old coating and surface damage |
| Shaping | P80 to P120, ceramic belt | Machining marks and uneven areas |
| Refining | P120 to P240 disc or sheet | Scratches from the previous grit |
| Finishing | P320 to P800, scouring pad | Fine scratches and surface texture |
| Polishing | Polishing wheel and compound | Haze and the last visible marks |
Cutting and shaping
Cutting and shaping are where the material actually comes off, and the abrasive has to stay flat while it does it. Self-adhesive precision sandpaper in 279 to 350 mm mounts on a platen or a block so the surface stays true through the coarse stages, and a ceramic alumina belt on cloth backing does the same work when the shape has to be flattened along an edge rather than blended by a disc. On a machine, hook-and-loop sanding discs from 40 to 2000 grit cover the same range. The mistake at this stage is stopping too early: a surface that still has 40-grit scratches in it cannot be refined by jumping straight to a finishing grit.
Refining and finishing
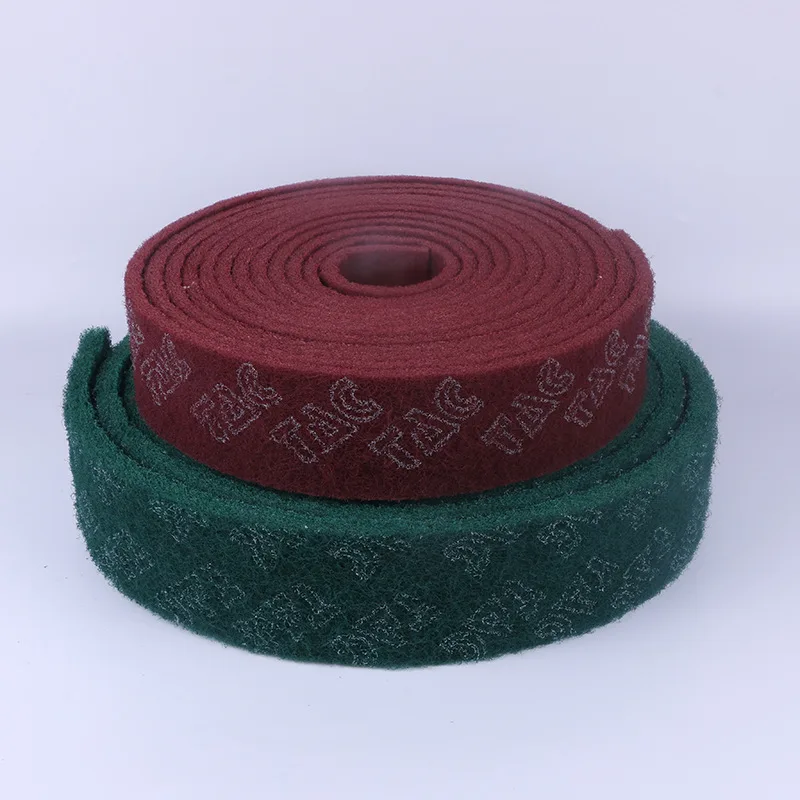
Refining is the stage that takes patience and almost no material. Precision finishing sandpaper for furniture and paint work and waterproof silicon carbide sandpaper are the grits that remove the previous scratch pattern, and using them wet keeps the paper from loading and the surface cool. An emery scouring cloth roll does the same job on metal that has to be keyed rather than polished, and an emery scouring pad reaches detail that a sheet cannot. The aim is an even scratch pattern with no deeper marks remaining, because the next stage only refines what it is given.
Polishing and protection
Polishing starts where abrasive refining stops. A nylon rust removal and polishing wheel with silicon carbide grit bridges the gap between abrasion and polishing on metal, taking off the last of the oxide without cutting a groove, while a tapered sponge polishing wheel conforms to a contour so the polish is even instead of concentrated on the high spots. Where the surface is a detail rather than a face, a polishing burr set for carving and mirror finishing refines the shape without rounding it. Once the surface is where you want it, protect it: a bare polished surface re-oxidises within days in a damp workshop, and a coating applied over dust or oil will fail at the edges first.
Choosing grits and knowing when to move on
The rule that matters is that each grit must completely remove the scratch pattern of the one before it. In practice that means sanding at 45 degrees to the previous direction, so you can see when the old scratches have gone, then changing direction again for the next grade. Skipping more than one grade leaves scratches that the finer grit cannot remove, and the surface then looks finished until a coating reveals every mark. Two grades of gap is a reasonable maximum on a surface that is already flat, and one grade where the finish is critical.
The stages people skip, and what it costs
- Degreasing. Skipping it embeds oil in the surface and the coating lifts. Degrease before and after abrasion.
- Dust removal between grits. Loose grit from the previous grade scratches the new surface, so the work is done twice.
- Protection. An unprotected finish starts to degrade immediately, and re-polishing is more work than coating it once.
- Material separation. Abrasives used on plain steel will contaminate stainless steel and cause rust bloom, so keep them separate.
Matching the sequence to the material
The same logic applies to every material, but the grits and the stopping point change. Timber is cut and refined and then usually left keyed, because a coating needs grip rather than gloss. Steel is cut, refined and polished where a decorative finish is wanted, and left keyed where it will be painted. Aluminium loads abrasive quickly and benefits from a lubricant and an open coat. Stainless steel needs abrasives kept separate from plain steel and a finer finish where hygiene matters. Stone and tile want silicon carbide or diamond and a wet process. Decide the stopping point before starting, because over-refining a surface that will be coated is wasted work.
Frequently asked questions
How many grits do I need for a good finish?
For most work, four: a cutting grit, a shaping grit, a refining grit and a finishing grit, followed by a polish where a shine is wanted.
Can I skip from P80 to P240?
No. The P240 cannot remove the P80 scratch pattern, so the deep scratches stay and the finish shows them.
Why change sanding direction between grits?
Crossing the previous direction makes the old scratches visible, so you can see exactly when the new grit has done its job.
Do I have to polish after sanding?
Only if the surface needs to shine. For a coating, a refined keyed surface is the correct stopping point; polishing further reduces the grip the coating needs.
Why does my finish look patchy?
Usually because a stage was skipped or a grit was jumped. Patchiness almost always traces back to an uneven scratch pattern underneath.
Where to start
Browse the full Abrasives range, or the wider Abrasives category if you also need sharpening stones, belts or compounds. Tell us the material, its condition and the finish you are aiming for, and we will point you at the grits, wheels and compounds that get you there.