Blog
Marking Gauge Setup: Accurate Setting and Clean Lines


Setting a marking gauge takes ten seconds and saves a measurement on every piece that follows. The tool works because the fence rides the reference edge while the pin or blade scores a line at a fixed distance, which means the accuracy lives in two places: the setting and the way the fence is held against the work. Get those right and the line is dead parallel; get either wrong and every piece in the batch is out by the same amount. This guide covers setting the gauge, choosing between a pin and a blade, and the stroke that marks a clean line in any direction of grain.
Setting the gauge accurately
- Measure from the fence face. Lay a steel rule against the fence and read to the pin. The distance that matters is from the face that touches the reference edge, not from the end of the beam.
- Use a rule rather than a tape. A tape hook moves and a tape blade flexes. A steel rule laid flat against the fence gives the same reading every time.
- Lock the screw firmly. Tightening almost always shifts the beam slightly, which is why the setting is checked after locking and not before.
- Re-measure after locking. If the setting has moved, loosen, correct and lock again. Two seconds here prevents a whole batch of parts being wrong.
- Test on scrap. Mark a scrap piece and measure the result. A gauge that reads correctly on the bench can still mark a millimetre out if the pin is bent.
- Set the same gauge twice, not once. For a critical joint, set and check the gauge, mark one piece, measure it, then run the rest of the batch.
Pin against blade
| Type | Behaviour | Suits |
|---|---|---|
| Pin | Scratches a fine line, works in any direction | General marking, cross grain and end grain |
| Blade | Slices a line cleanly across the fibres | Cross grain marking where the line will be seen |
| Pin, on end grain | Tears the fibres and wanders | Only where the mark is not critical |
| Blade, along the grain | Tends to follow the fibre and drift | Cross grain work, not long rips |
That is why many gauges carry one of each. The pin marks quickly in any direction and the blade leaves a clean line across the grain, and choosing between them is a matter of which way the fibres run at the mark.
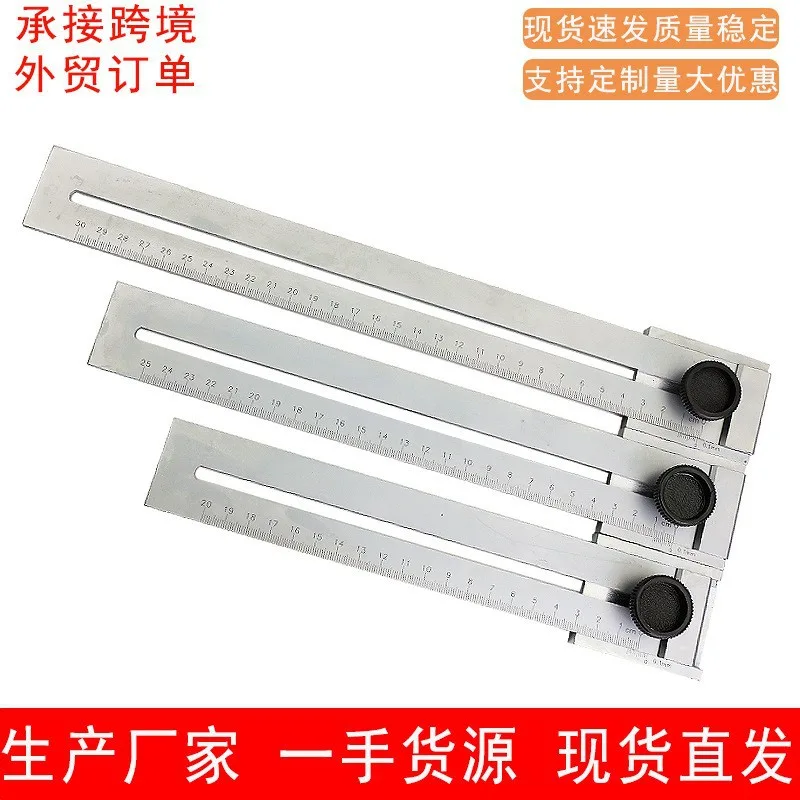
The marking gauge in this guide
The stroke that marks cleanly
- Set the fence flat against the reference edge. Any tilt shows up as a line that drifts away from parallel along the length.
- Angle the pin slightly into the waste. A pin leaning away from the finished side marks with its tip and keeps the good face clean.
- One pass, one direction. A gauge scores a line in a single stroke. Going back over it widens the mark and blunts the pin.
- Run from the far end toward you. The stroke is easier to keep straight and the fence stays pressed against the edge the whole way.
- Keep even pressure down and against the edge. Pressing down without pressing sideways lets the fence lift; pressing sideways without down lets the pin skip.
- Mark the waste side of the line. A gauge mark is a fine groove. Whatever is cut away should be on the side the pin has torn, not the finished face.
Keeping a gauge accurate
- Check the pin for bends. A pin that has been pushed too hard bends, and a bent pin marks a line that is not parallel. Straighten or replace it.
- Do not hammer the beam. The screw holds the setting; driving the gauge with a mallet closes the beam slot and the screw stops gripping.
- Keep the fence face clean. A shaving trapped under the fence is the same as marking from a different edge.
- Oil sparingly at the screw. One drop keeps the thread working. Oil on the fence makes the gauge slide off the edge.
- Store it where it will not be knocked. A gauge in a drawer of files comes out with a bent pin and a scored fence.
The reference edge has to be true before the gauge can mark anything useful. A gauge only copies the edge it runs against, so a board with a sawn and slightly hollow edge produces a line that is hollow by the same amount. Plane or joint one edge straight first, mark everything from that face, and keep the marked face as the reference for the rest of the build. It is the same principle as checking a square: the tool can only be as good as what it is registered against.
Frequently Asked Questions
How do I set a marking gauge precisely?
Lay a steel rule against the fence face, set to the mark, lock the screw and measure again. The re-measure matters because locking moves the beam slightly.
Should I use the pin or the blade?
The pin for speed and for any direction, the blade for a clean line across the grain. On end grain the pin tears the fibres, so a blade or a knife line is better there.
Why is my line not parallel to the edge?
Usually the fence was tilted away from the edge, or the pin is bent. Check the pin first, then the way the gauge sits against the reference face.
Can I use a marking gauge on metal?
No. A pin or blade gauge is for timber and similar materials. On metal it will not mark and the pin will be damaged.
How many times should I mark a line?
Once. A gauge is a scoring tool, and repeating the stroke widens the line and blunts the pin without making the mark more accurate.
Buying the right one
A marking gauge earns its place the first time a batch of parts has to match, and the whole skill is in the setting and the stroke. The marking gauge in this range takes the setting and marking routine described here.