Blog
Steel Letter Stamps: 3 mm to 12.5 mm Character Sets

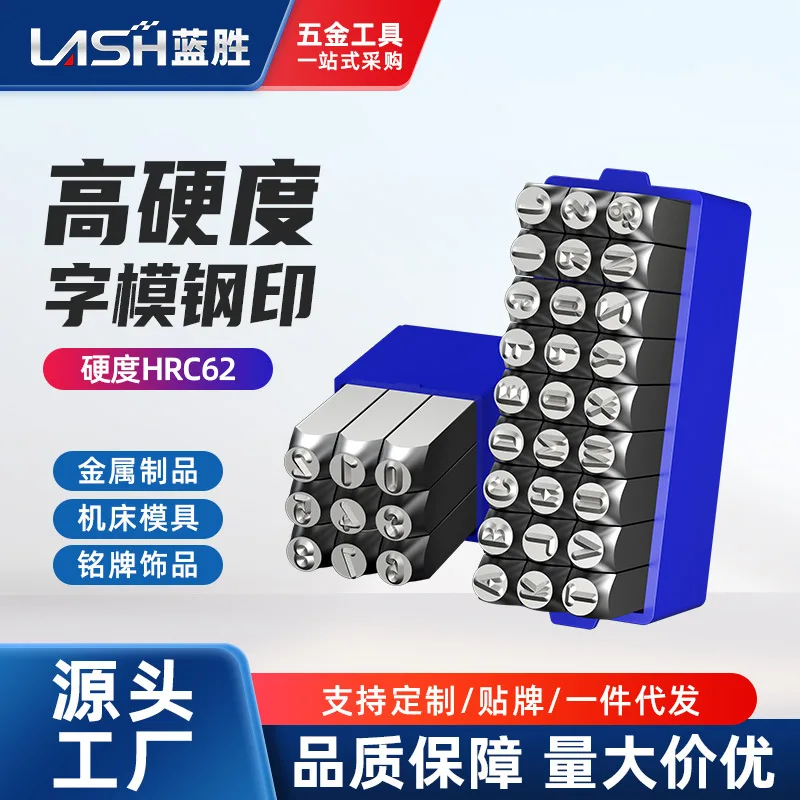
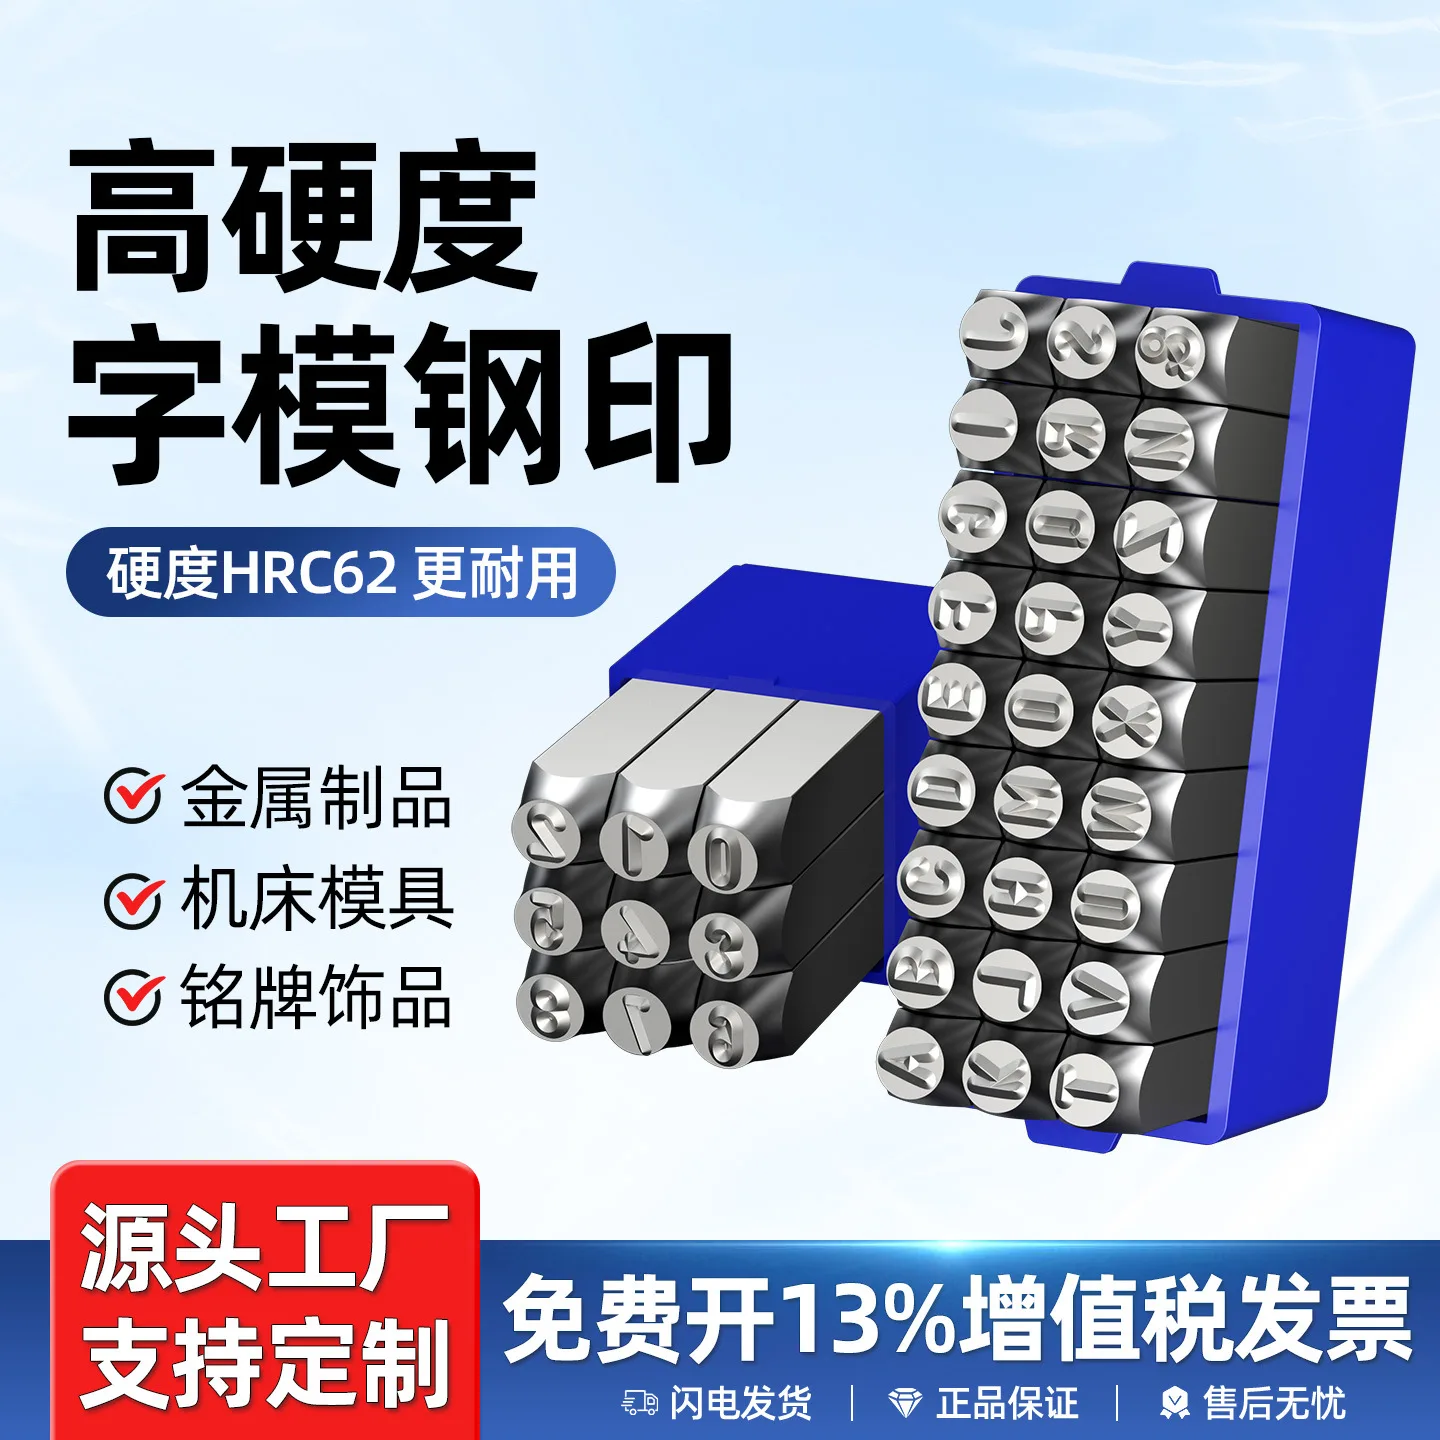
A set of letter stamps lets you mark your initials, a part number or a company name into metal permanently, with no electricity and no software. The character height decides almost everything else: how readable the mark is, how much force the stamp needs, how much space it takes on the part, and how deep the impression sits. This guide covers the letter sets in the range, from a 3 mm character up to a 12.5 mm one, and the practical rules that keep the marks straight, even and legible.
What character size changes
- Legibility. A 3 mm character is readable at arm’s length and suits small components. A 12.5 mm character reads across a workshop and suits heavy fabrications.
- Force needed. The force to sink a character rises steeply with size. A 3 mm stamp marks with a firm hammer blow; a 12.5 mm stamp needs a heavy hammer and a solid backing.
- Space on the part. A full name in 12.5 mm characters needs a long, flat area. In 3 mm characters the same name fits on a small plate.
- Depth and durability. Large characters sit deeper and survive grinding and painting better. Small characters can be lost under a heavy coat of paint.
- Risk to the part. A large stamp in a thin section distorts the part. Small stamps mark thin material without moving it.
- Alignment difficulty. The bigger the character, the more obvious a crooked stamp becomes, so large work needs a guide or a holder.
Character size against the job
| Character | Marks | Hammer | Notes |
|---|---|---|---|
| 3 mm | Small components, thin plate, tools | Light hammer | Tight spacing; a holder helps |
| 4 mm | General small-part marking | Light to medium | Comfortable compromise on small work |
| 5 mm | Everyday workshop marking | Medium hammer | The most useful size for most benches |
| 8 mm | Fabrications and larger parts | Medium to heavy | Readable under paint |
| 10 mm | Heavy plate and structural work | Heavy hammer | Needs a solid backing under the part |
| 12.5 mm | Large fabrications and identification | Heavy hammer | Deep marks; long stamping runs |
The pattern of use matters too. A bench that marks a few tools a week is served by one size around 5 mm. A fabrication shop marking structural sections uses two sizes, one for small components and one for the main members, because the two never share a page in the same drawing.
The steel stamps in this guide
Every option in this range
Sixteen sets covering letter and number stamps in alloy and standard steel. Prices are per set, and a full A to Z set is the usual purchase for a workshop.
| Option | Characters | Set | Best for | Price |
|---|---|---|---|---|
| Alloy letter set | 12.5 mm | A to Z and ampersand | Heavy fabrications | $26.97 |
| Alloy letter set | 8 mm | A to Z and ampersand | General fabrication marking | $26.97 |
| Alloy letter set | 5 mm | A to Z and ampersand | Everyday workshop marking | $26.97 |
| Alloy letter set | 4 mm | A to Z and ampersand | Smaller components | $26.97 |
| Standard letter set | 12.5 mm | A to Z and ampersand | Large identification marks | $26.97 |
| Standard letter set | 8 mm | A to Z and ampersand | Fabrication work | $26.97 |
| Standard letter set | 5 mm | A to Z and ampersand | Bench and tool marking | $26.97 |
| Standard letter set | 3 mm | A to Z and ampersand | Small parts and tight spacing | $26.97 |
| Alloy number set | 12.5 mm | 0 to 8 | Heavy part numbering | $26.97 |
| Alloy number set | 8 mm | 0 to 8 | Fabrication numbering | $26.97 |
| Alloy number set | 5 mm | 0 to 8 | Everyday numbering | $24.45 |
| Alloy number set | 3 mm | 0 to 8 | Small-part numbering | $21.94 |
| Standard number set | 10 mm | 0 to 8 | Heavy numbering work | $26.97 |
| Standard number set | 8 mm | 0 to 8 | General numbering | $17.98 |
| Standard number set | 5 mm | 0 to 8 | Bench numbering | $10.43 |
| Standard number set | 3 mm | 0 to 8 | Small-part numbering | $8.99 |
Notice that letter sets sit at one price across the size range, while number sets fall as the characters get smaller. Letters are the more expensive set to make because there are twenty-six characters to grind rather than nine, and that cost is spread over the set rather than charged by size.
Stamping a straight, even line
- Mark a baseline first. A scribed line or a strip of tape gives the bottom of every character something to sit on. Characters stamped to a baseline look deliberate; characters stamped by eye do not.
- Check the character orientation. The stamp has to be the right way up and facing the right way. Half an hour of stamping with a reversed letter is a part written off.
- Hold the stamp vertical. A stamp leaning backwards produces a smeared character with a deep top edge and no bottom. Keep it square to the surface and strike straight down.
- Strike once, firmly. A single firm blow gives a clean character. Several light taps bounce the punch and double-strike the mark.
- Back the work up. A heavy block or an anvil under the part makes the blow land. Stamping on a bench with a hollow underneath sounds the same and marks nothing.
- Space the characters. Leave around half a character width between stamps. Characters touching each other become unreadable once the part is painted.
- Work from left to right for a right-handed strike. Stamping right to left risks the hand resting on wet ink or a finished mark.
Force, material and depth
Aluminium and mild steel mark with a normal hammer blow. Stainless steel work-hardens under the punch, so the first blow has to be decisive: a light first strike hardens the surface and the second blow then bounces instead of cutting. Brass and copper mark easily but the character blurs if the punch is driven too deep.
Depth is a compromise. Deep characters survive grinding, painting and wear but distort thin sections. Shallow characters leave the part flat but can disappear under a heavy coating or be polished away during finishing. Aim for a depth of roughly a quarter to a third of the character height on general work and adjust for the material.
Where a mark has to be exactly placed, use a stamp holder. A holder keeps the character upright and stops the punch wandering on the first strike, which is the usual cause of a crooked line. A simple strip of soft metal or a piece of tape along the baseline does most of the same job at no cost.
Storing and looking after a stamp set
- Keep the set in its tray or box. Loose stamps chip their own character faces against each other and lose the one you need next.
- Wipe the faces after use. Metal particles left on a character face get driven into the next part and blur the mark.
- Oil the shanks. A light film keeps rust off the body of the stamp, which is what makes it stick in the holder.
- Dress a mushroomed head. Once the struck end spreads, the stamp stops sitting square. Grind the head flat and slightly chamfered before it splits.
- Replace single characters rather than a full set. The character used most is the one that wears, and most ranges allow a single stamp to be ordered.
Frequently Asked Questions
What size letter stamps should I buy?
Five millimetres covers most workshop marking. Add a smaller size for small components and a larger size where the mark has to be read from a distance.
Do letter stamps work on stainless steel?
Yes, but the first blow has to be firm and square. Stainless work-hardens, so a tentative first strike makes the surface harder without marking it.
How hard do I need to hit the stamp?
Hard enough to sink the character in one blow. On a small character that is a light hammer; on a 12.5 mm stamp it takes a heavy hammer and a solid backing.
Can I stamp letters into aluminium?
Yes, and it marks very easily. Expect a shallower blow to be enough, and support the back of the part so it does not deform.
Why do my stamped letters look crooked?
Almost always a stamp that was not held vertical, or no baseline to work to. Scribe a line, or use tape as a guide, and strike square.
Buying the right one
Choose the character height that suits the part and the reading distance, then buy the full set rather than individual characters. The steel letter stamps in this range cover 3 mm to 12.5 mm in alloy and standard steel.